

Ch-ch-change. Scary, no? Economies churn, technology overruns, we change jobs and cars, we acquire new smartphones, pets and even the occasional child. And don't even get me started on hair!
Mine went from auburn to pillar-box red and is now black/purple - ombre shades of Maleficent.
In the midst of madness, we find sanctuary in small things. Now, I use the word 'small' with some hesitation - 'small' does not infer meaninglessness or unimportance. Ever had your favourite tinned soup disappoint you with a "New, Improved Recipe!" or favourite nail polish discontinued?
Sure, it's technically a small matter... but it still feels big. That kind of stuff stays with you.
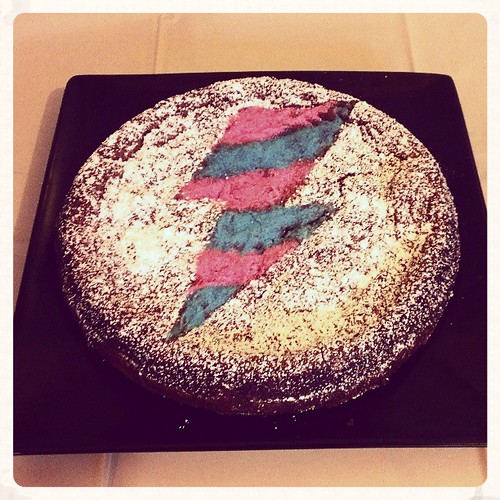
Here are two small things which are in fact, very big. The first is an apple cake I make every fortnight which serves as a simple, economical after-dinner treat. The recipe is nabbed from David Lebovitz who originally nabbed it from Dorie Greenspan.
It is an extremely forgiving recipe with easily available ingredients. It can also withstand a surprising amount of tweaking and substitutions. No rum? Then raid the liquor cabinet - try bourbon, whiskey or port. If you don't have four apples, three will do. It's inexact nature is part of the charm. It is a lovely cake to make if you've had a harried, challenging day.
The second thing is a recipe for a gâteau aux noisettes (hazelnut cake), as promised in my previous post. Although it is fancy-sounding and French - actually, both this and the apple cake are French - it is again very simple.
It is popular myth that during the height of the Revolution, Marie Antoinette uttered, "Qu'ils mangent de la brioche!" - now infamously translated as, "Let them eat cake!"
Modern life is now a constant revolution (could you imagine in 2003 what 2013 would be like?) so yes, we shall eat cake. And lots of it.
>>>>>>>>>>>>>>>>>>>><<<<<<<<<<<<<<<<<<<<
|
| Simple French Apple Cake |
- 115g flour
- pinch of salt
- 3/4 teaspoon baking powder
- 4 apples, a mixture of varieties is nice. If your apples are very big (like we have here in Australia) then it's okay to use 3.
- 2 large eggs at room temperature
- 150g sugar
- 3 tablespoons rum. If unavailable, I've had good success with either bourbon, whiskey, or port. If you don't have any liquor, just increase the vanilla extract to 1 1/2 tablespoons.
- 1/2 teaspoon vanilla extract
- 115g butter (any type), melted and cooled to room temperature.*
to make the cake:
- Preheat oven to 180°C. Adjust your oven rack to the middle of the oven; this is where you'll be placing the cake.
- Butter a 20cm circular springform pan, then line the bottom with baking paper. If you have a pan that's larger, that's okay too, but the cake will be flatter.
- Peel and core the apples, them chop them into 3cm chunks. It doesn't have to be exact.
- Whisk together the flour, salt and baking powder in a small bowl.
- In a separate, larger bowl beat the eggs until foamy, then whisk in sugar, rum and vanilla extract.
- Gently whisk in 1/2 the flour mixture into the egg mixture, then stir in 1/2 of the melted butter until just combined.
- Repeat the above step with the remaining flour mixture and melted butter.
- Once you have a smooth batter, fold in the apples until they are coated with batter. Scrape into the springform pan and smooth the top as best you can with a spatula. As long as it's generally even it will be fine, there's no need to be fussy - the apples will cook down and the batter will rise.**
- If using a regular gas oven, bake at 180°C for 60 minutes, or until a knife inserted comes out clean.
If using a fan-forced or a super-duper-bells-n-whistles oven, check the cake after 45-50 minutes. - Once done, let the cake settle and cool in the pan for 20 minutes, then run a butter knife around the inner edge to loosen the cake from the sides of the pan if needed - sometimes the apples can stick. The cake does have a tendency to come away from the sides however, so this step is only marginally necessary.
- Turn out from the pan, remove the baking paper and serve.
The cake is very moist and lovely by itself, however a little thick cream or ice-cream is a nice addition.
Notes:
* I melt the butter in a Pyrex measuring jug in the microwave, on High for 30 seconds. If the butter is too hot, just dunk the bottom of the jug into some cold water to cool.
** At this stage, it will look like you've got more apple than batter. As long as the apples are coated, it's fine, there will be lots of lumpy apple bits.
>>>>>>>>>>>>>>>>>>>><<<<<<<<<<<<<<<<<<<<
Gluten-Free Gâteau Aux Noisettes or Hazelnut Cake (Serves 6-8)
Adapted from Wivine De Stoop's 'The Pleasure of the Table'
 |
| Gâteau Aux Noisettes aka Hazelnut Cake |
- 4 large eggs, separated
- 120g castor sugar
- 90g dark chocolate buttons.
- 120g unsalted butter, cut into cubes
- pinch of salt
- 120g ground roasted hazelnuts, with skins if possible*
to make the cake:
- Preheat oven to 200°C. Butter a 20cm circular springform pan, then line the bottom with baking paper.
- Melt the chocolate and butter together in a bain-marie, stir until smooth and combined.
Take the bowl containing the chocolate/butter mixture off the heat. Immerse the bottom of the bowl a sink containing some cold water so the mixture cools to room temperature.
Do not let the water come into contact with the mixture.
Alternatively, put the chocolate and butter together in a Pyrex jug and microwave on High for 45 seconds, then stir until smooth and combined. Then immerse the bottom of jug in cold water. Again, do not let the water come into contact with the mixture inside. - Beat the egg whites in a medium-sized bowl until firm peaks form. Set aside.
- Beat the egg yolks and sugar together in a large bowl until pale, then whisk in the melted chocolate/butter. Whisk in the salt and ground hazelnuts, then fold in the beaten egg whites until just combined.
- Spread the cake mixture into the prepared springform pan.
- Place the pan in the oven and immediately turn the temperature down from 200°C to 180°C.
Bake for 30-35 minutes in a regular oven, or until a skewer inserted into the middle comes out clean. If the cake shows signs of browning too fast, cover the top of the pan with foil. - Once done, turn off the oven, open the oven door and let the cake settle and cool inside the oven for another 30 minutes.
- Turn out from the pan, remove the baking paper and serve.
However, it is delicious plain and has a beautiful, dense, brownie-like texture. Store in an airtight container for up to 4 days... if it lasts that long ;-)
Note:
* It is much cheaper to buy whole roasted hazelnuts from a deli or nut shop and grind them yourself - just whizz them in a food processor until the texture resembles almond meal. Not sure about overseas, but buying ready-processed hazelnut meal from supermarkets in Australia can be expensive.
No comments:
Post a Comment